
How to Use MuseHub Plugins in Ableton Live
MuseHub delivers a compatible plugin to your computer, while Ableton Live discovers and loads that plugin through its own Plug-In Sources settings. This guide connects both sides of the workflow: choose the right format, finish the MuseHub install, scan the correct folder, test the device on a track, and recover when the plugin is missing.

In MuseHub, select a product that lists a format Ableton Live supports and let the installation finish. In Live, open Preferences > Plug-ins, enable the system or custom folder that contains the plugin, then choose Rescan. Search the Browser under Plug-Ins and load the device on a short test track. If it is still missing, check format, architecture, installation status, path, and a deep rescan in that order.
At a glance
| Who installs the file | MuseHub downloads and installs the product; Ableton Live does not install it inside a project. |
|---|---|
| Windows system VST3 | C:\Program Files\Common Files\VST3 is the standard location documented by MuseHub. |
| macOS plugin root | /Library/Audio/Plug-Ins is the standard root documented by MuseHub; the exact subfolder follows the format. |
| Live control | Preferences > Plug-ins > Plug-In Sources enables system and custom folders. |
| Deep rescan | Hold Alt on Windows or Option on macOS while choosing Rescan. |
| Expected result | The plugin appears in Live's Browser and opens on a test audio or MIDI track. |
What MuseHub installs for Ableton Live
To use MuseHub plugins in Ableton Live, keep the roles separate. MuseHub is the catalog, download, installation, and sometimes authorization layer. Ableton Live is the host: it scans plugin locations, indexes compatible files, and exposes effects or instruments in the Browser. A completed download in MuseHub therefore does not prove that Live has discovered the file.
Start with the product page rather than the filename. Confirm that the item is a plugin, not a MuseSound library, loop, course, or standalone application. Then note the supplied formats and the operating systems listed by the developer. A MuseHub product can be useful in Ableton Live only when its installed format and architecture match what your Live build can load.
This page focuses on the host handoff. For a general folder lookup, use the MuseHub install locations guide. For account, network, authorization, or download failures that happen before a file is installed, use the MuseHub troubleshooting guide.
A useful mental model
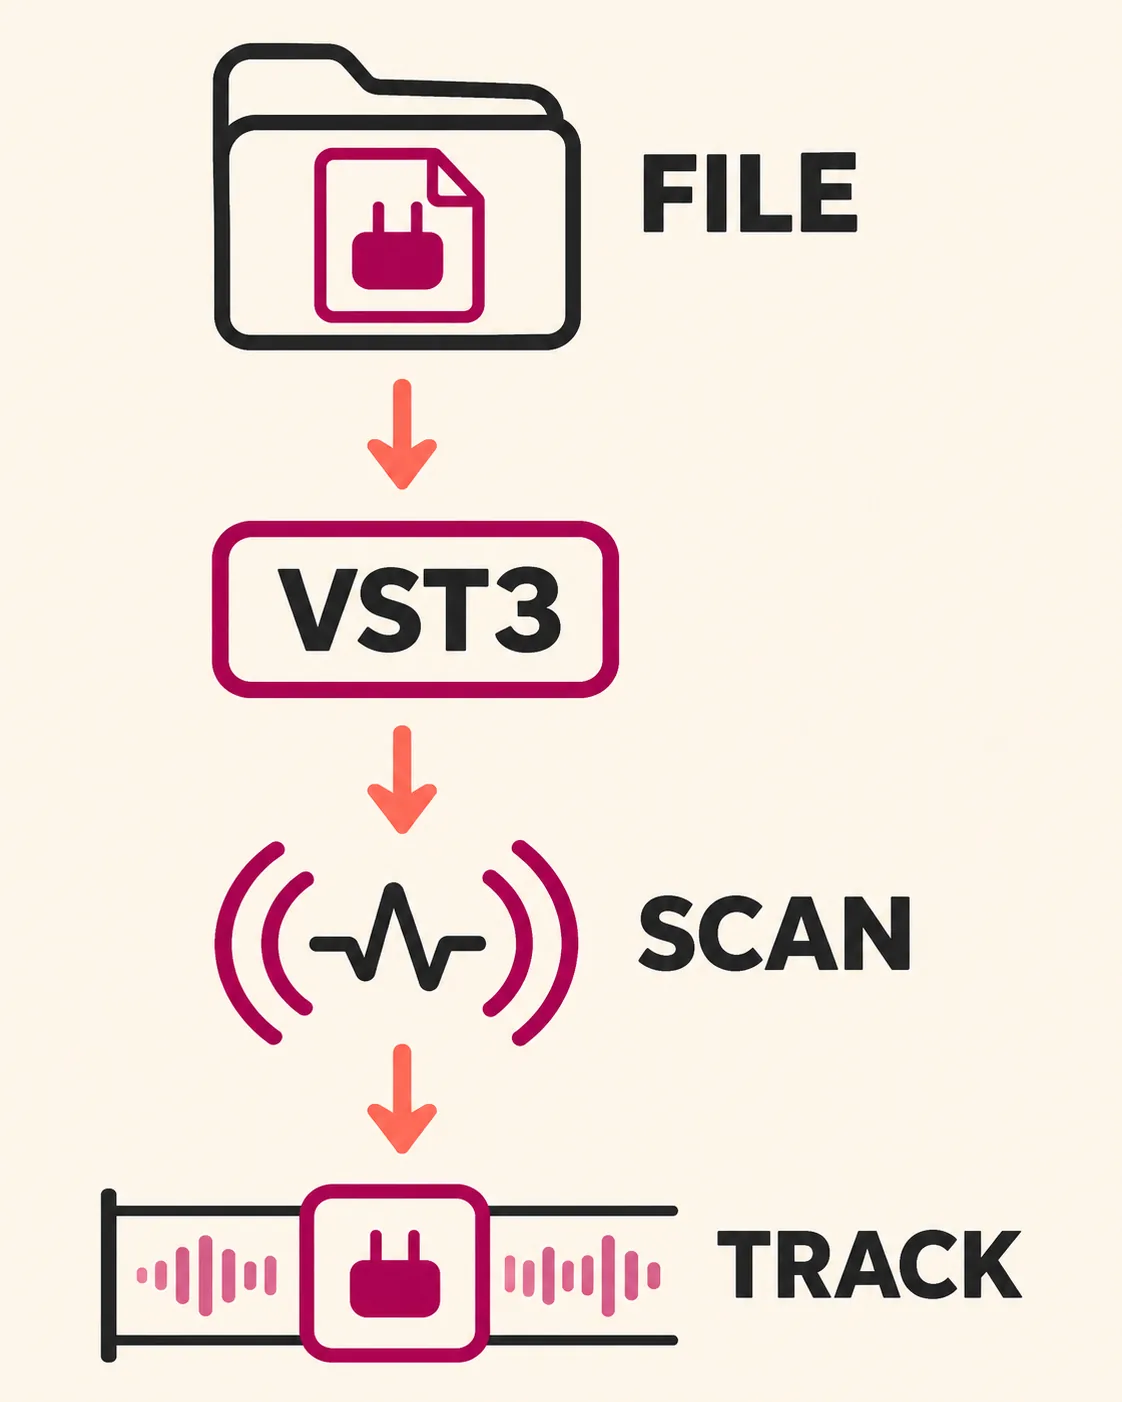
Think of the workflow as four checkpoints: product compatibility, completed installation, enabled host path, and successful track load. If you skip one checkpoint, repeating the same rescan may hide the real cause. The quickest fix is to identify the first checkpoint that is false.
Do not copy a plugin into Ableton Live's application folder. Host applications normally scan a plugin directory, and managed installers may expect the file to remain in a particular location for updates or licensing. Use the path selected by the product installer or documented by MuseHub and the plugin publisher.
- MuseHub manages the product; Live manages discovery and loading.
- A plugin format is different from an audio loop or a MuseSounds library.
- A visible file is only useful when its folder is enabled in Live.
- Keep the original path until a project opens successfully.
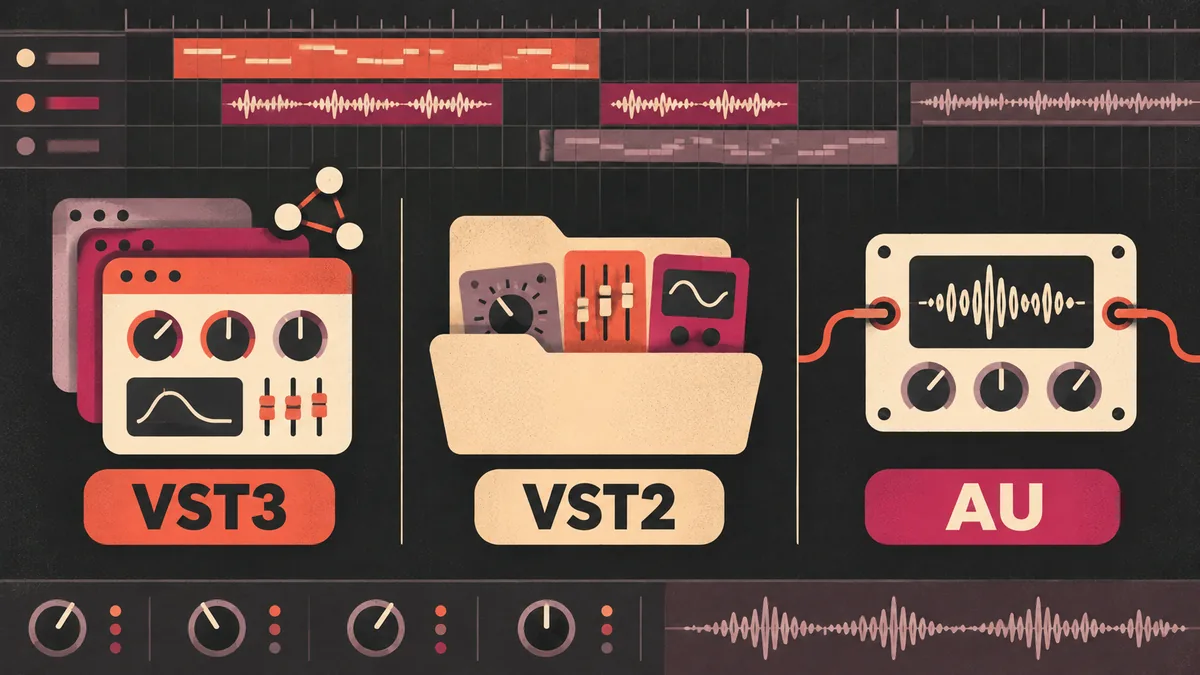
Choose VST3, VST2, or AU before installing
The format determines which Ableton Live setting you need. On Windows, Live supports VST2 and VST3 plugins. On macOS, Live supports VST2, VST3, and Audio Units when the product supplies them. Current Live versions are 64-bit, so a 32-bit plugin will not appear even if a file with a familiar name exists on disk.
VST3 is usually the simplest choice when a MuseHub product offers it because it uses a standard system folder and avoids the custom-folder decisions required by many VST2 installs. VST2 can still be useful when a publisher supplies only that format, but keep the VST2 folder separate from the VST3 folder. Audio Unit is a macOS format and should be enabled through Live's Audio Units setting rather than a Windows VST path.
On an Apple Silicon Mac, confirm that both Live and the plugin build support the processor mode you intend to use. Some older plugins need an Intel or Rosetta workflow, while a native Universal or Apple Silicon build can run directly. The product publisher's compatibility notes take precedence over a generic folder recommendation.
| Format | Where it is common | What to enable in Live | Typical mistake |
|---|---|---|---|
| VST3 | Windows and macOS | VST3 system folder or the documented custom folder | Looking only in the VST2 custom folder |
| VST2 | Windows and macOS legacy workflows | VST2 system or a dedicated VST2 custom folder | Putting VST2 and VST3 files in one custom folder |
| AU | macOS only | Audio Units system support | Expecting an AU component to appear in a Windows VST list |
| 32-bit plugin | Older software | Not supported by current 64-bit Live builds | Rescanning indefinitely instead of replacing the plugin |
| MuseSounds or loop | MuseScore playback or audio content | No VST scan; use its intended application or content path | Treating a library as an insert effect |
Install a compatible plugin in MuseHub
Before opening Ableton Live, let MuseHub finish the plugin installation. Open the product listing, read the platform and format information, and choose the installation action supplied by that product. If the item requires a purchase, account, or authorization step, complete it through the official product flow instead of copying a binary from an unofficial archive.
MuseHub's official location guidance lists C:\Program Files\Common Files\VST3 for Windows VST3 plugins and /Library/Audio/Plug-Ins as the macOS plugin root. A product may use a deeper format-specific folder or a custom location. Treat those paths as a starting point, not permission to move the file by hand.
Keep Live closed during the first install when possible. A host that is already open may not index a new device until it restarts. Wait for MuseHub to show a completed state, check free disk space, and note whether the product installed an effect, an instrument, or a separate standalone application.
- 1Review the product
Confirm that the listing names Ableton Live or a compatible VST3, VST2, or AU format for your operating system.
- 2Start the official install
Use MuseHub's install or purchase flow and keep the account or license step inside the supported product path.
- 3Wait for completion
Do not launch Live until the download, extraction, and authorization indicators have finished.
- 4Record the format and path
Note VST3, VST2, or AU and the folder selected by the installer before you troubleshoot discovery.
Enable plug-in sources in Ableton Live
Open Ableton Live's Preferences and choose the Plug-ins page. The exact label can differ between Live releases, but the relevant area is the Plug-In Sources section. Enable the system folder for the format you installed, or switch on the custom folder and browse to the containing directory when the installer used a non-standard path.
On Windows, a normal VST3 setup usually needs the VST3 system folder enabled. A VST2 product may need the VST2 system folder or a dedicated custom folder. On macOS, enable the Audio Units system support for an AU product and the relevant VST system folder for a VST product. Do not point two formats at one folder just to make the list look complete.
After changing a source, close the Preferences panel and allow Live to finish indexing. If the Browser is busy, wait before judging the result. A plugin can be installed correctly and still be absent from the list while indexing is incomplete.
System folder or custom folder?
Use a system folder when the installer followed the platform convention. Use a custom folder only when the product explicitly installed there or when the publisher documents that choice. Adding every drive and every old plugin folder can slow scanning and create duplicate entries, so keep the list intentional.
If you changed the install location after the fact, remove the stale entry only after confirming which files remain. A clean source list makes a missing device easier to diagnose than a list of abandoned folders from several DAWs.
- Enable only the format you actually installed.
- Add the containing folder, not a shortcut or a single plugin file.
- Keep VST2 and VST3 custom folders separate.
- Wait for indexing before opening a second rescan.
Rescan and test the plugin in a track
When Plug-In Sources is correct, choose Rescan and wait for Live to finish. Open the Browser's Plug-Ins section and search by the product name, not only by the developer name. Some instruments are grouped differently from effects, so also check the instrument or MIDI category when the product is not an audio effect.
Load the plugin on a short, disposable test project. An effect should open on an audio track; an instrument should be placed on a MIDI track with a working input. Confirm that the window opens, the plugin is not bypassed, and a simple sound passes through before you add it to a production template.
If you installed a new file while Live was open, a normal rescan may be enough after the source is enabled. If the device remains absent, use the deep-rescan shortcut described by Ableton: hold Alt on Windows or Option on macOS while choosing Rescan. This clears more indexing state and can take longer.
- 1Choose Rescan
Run the normal scan after enabling the correct system or custom folder.
- 2Search the Browser
Look under Plug-Ins and search the exact product name; check instrument categories when appropriate.
- 3Load a test track
Insert an effect on audio or an instrument on MIDI, then confirm that its window opens.
- 4Use a deep rescan if needed
Hold Alt or Option while choosing Rescan, wait for indexing, and search again.
| Observation | Next check |
|---|---|
| The product appears and opens | Save a small test project and verify the plugin after reopening. |
| The product appears but is silent | Check track type, MIDI input, bypass, routing, and authorization. |
| The product is absent | Return to format, installation status, folder, source toggle, and rescan order. |
| Live crashes during scan | Record the newest plugin, remove it through the supported installer, and scan one product at a time. |
| Two copies appear | Remove stale custom paths only after confirming which copy the current installer uses. |
Fix a MuseHub plugin missing in Ableton Live
When a MuseHub plugin is missing in Ableton Live, work from the file toward the host. First confirm that MuseHub reports a completed install. Next confirm the product format and architecture, locate the actual file, enable the matching source, and rescan. This order prevents a path change from hiding an incomplete download or an unsupported 32-bit build.
If the file exists but Live cannot see it, compare its folder with the enabled source list. On Windows, a VST3 bundle outside the system folder may require a documented custom path. On macOS, an AU component and a VST3 bundle use different source toggles. Do not put the same folder into every source field as a guess.
If a scan reports an error, save the exact message and the product version shown by MuseHub. Temporarily remove only the newest or suspect plugin through its supported uninstaller, then scan the remaining products. Security software, permissions, missing runtime libraries, and Apple Silicon architecture can all stop a plugin from loading even when the folder is correct.
A short recovery sequence
Restart Live and the computer after a first install. Confirm that no second Live process is still indexing. Then open Preferences, toggle the relevant source off and on, choose Rescan, and wait for the Browser to finish. Only after that should you try a deep rescan.
If the plugin is listed but fails to open, stop changing folders. Check the publisher's operating-system and processor requirements, license or activation state, and whether the project uses an effect on an audio track or an instrument on MIDI. A path fix cannot repair an incompatible binary.
For Windows, check whether Windows Defender or another security tool blocked the plugin directory. For macOS, check the product's permission and notarization guidance and confirm that the copy in the standard plugin folder is the one the installer created.
- Installed state: MuseHub completed the download and authorization.
- Format state: VST3, VST2, or AU matches the host setting.
- Path state: Live scans the containing folder and indexing is finished.
- Architecture state: the plugin supports the OS, Live version, and processor.
- Load state: the track type, routing, and license allow the device to run.
| What you see | Likely boundary | Best next action |
|---|---|---|
| MuseHub is still downloading | Install state | Resume or retry through MuseHub and wait for completion. |
| File exists, Browser is empty | Source path or indexing | Enable the exact containing folder and rescan. |
| Browser entry has an error | Architecture or dependency | Check the publisher's OS, Live, and processor requirements. |
| Effect opens but has no sound | Track routing or bypass | Use an audio test track, check input, and compare bypass. |
| Instrument is silent | MIDI route | Use a MIDI track, select an input, and confirm the instrument is not muted. |
| Scan crashes Live | Plugin binary | Remove the newest suspect through the supported installer and scan incrementally. |
Windows, macOS, and Apple Silicon notes
MuseHub documents C:\Program Files\Common Files\VST3 as the normal Windows VST3 location. A VST2 installer may ask for a separate folder, and a custom path should be added to Live only when it is the folder that actually contains the plugin. Do not move a standalone application into a VST folder or rename a managed bundle.
On macOS, MuseHub documents /Library/Audio/Plug-Ins as the standard plugin root. VST3, VST2, and Audio Unit components may live in different subfolders. Use Live's source controls for the format you installed and keep the system folder enabled when the installer followed the convention.
Apple Silicon adds a compatibility check rather than a new universal path. A native plugin can run with a native Live build; an older Intel-only plugin may require the publisher's Rosetta instructions. If a plugin appears only when Live runs in a different processor mode, record that fact and prefer an updated native build when one is available.
- Use the same operating-system account that installed the product.
- Do not mix 32-bit files with current 64-bit Live installs.
- Keep VST2, VST3, and AU locations separate in your notes.
- Treat a publisher's compatibility table as the authority for processor support.
- Recheck paths after moving a library or restoring a backup.
| Platform | Useful starting point | What still needs checking |
|---|---|---|
| Windows | VST3 system folder or the installer's VST2 custom folder | 64-bit build, security permissions, and the exact source toggle |
| macOS Intel | The documented Audio Plug-Ins subfolder | AU versus VST format and product compatibility |
| macOS Apple Silicon | Native VST3/AU folder when supplied | Native versus Intel build and Live processor mode |
| Any platform | The path shown by the installer | License, dependency, host version, and track routing |
Keep a repeatable Ableton Live test project
A small test project makes MuseHub plugins in Ableton Live easier to maintain. Create one audio track for effects and one MIDI track for instruments, keep a short source clip, and label the track with the product name and format. This separates a plugin discovery problem from a mixing or routing problem.
Save the project after the plugin opens, close Live, and reopen it once. If the project reports a missing device, compare the displayed name with the installed product and check whether the plugin was moved, renamed, or replaced. Keep the original installer path until the project loads twice.
Use bypass and a matched loudness when judging an effect. A plugin can be technically loaded but produce no obvious change because the track is silent, the control is neutral, or the instrument has no MIDI input. These checks keep support conversations factual and avoid repeated reinstall loops.
- Use a short audio clip and a simple MIDI note pattern.
- Name the track with the product, format, and date of the test.
- Save and reopen before adding the device to a large template.
- Record the source path and scan result in the project notes.
- Remove a suspect plugin one at a time so the cause stays observable.
MuseHub Plugins in Ableton Live FAQ
Can I use MuseHub plugins in Ableton Live?
Yes, when the product supplies a VST2, VST3, or macOS Audio Unit format supported by your Live build and operating system. MuseHub installs the file; Live must still scan and load it.
Where does MuseHub install VST3 plugins on Windows?
MuseHub documents C:\Program Files\Common Files\VST3 as the standard Windows VST3 location. A product-specific installer can use a custom path, so confirm the actual folder before adding it in Live.
Why is my MuseHub plugin not showing in Ableton Live?
Check that MuseHub finished, the format and architecture match Live, the containing folder is enabled in Preferences > Plug-ins, and a normal or deep rescan has completed. Then search the correct Browser category.
Should I use VST3 or AU in Ableton Live on a Mac?
Use the format the product supports and the publisher recommends. VST3 and AU use different Live source settings; do not assume an AU component will appear in a VST list.
How do I rescan plugins in Ableton Live?
Open Preferences > Plug-ins, enable the relevant source, choose Rescan, and wait for indexing. Hold Alt on Windows or Option on macOS while choosing Rescan for a deeper scan.
Can MuseSounds be loaded as an Ableton plugin?
Usually no. MuseSounds are sound libraries intended for their supported Muse applications, while Ableton loads plugin formats such as VST3, VST2, or AU.
Do I need to install Ableton Live through MuseHub?
No. MuseHub can deliver compatible plugins, but Ableton Live remains a separate host. Install Live through its supported source, then enable the plugin folder in Live.
What should I send support when a plugin scan fails?
Provide the operating system, processor mode, Live version, product name, plugin format, install path, and exact scan error. Do not send passwords, license keys, or private project audio.
Official sources and boundaries
Path and compatibility guidance was checked on November 16, 2026. Menu names and product requirements can change, so use the linked first-party pages when a current release differs.
- Where does MuseHub install things? - Official application, plugin, loop, instrument, and course locations.
- MuseHub plugin product types - Official partner guidance for VST3, AU, AAX, and installer bundles.
- Ableton: VST/AU plug-in doesn't appear in Live's Browser - Official compatibility, Plug-In Sources, restart, and deep-rescan guidance.
- Native Instruments: Plug-In Administration in Ableton Live - A host-specific example of enabling system folders and rescanning on Mac and Windows.